Set the Nodal Point for Shooting Panoramic Images
How-To for selected Nikon and Hasselblad Lenses
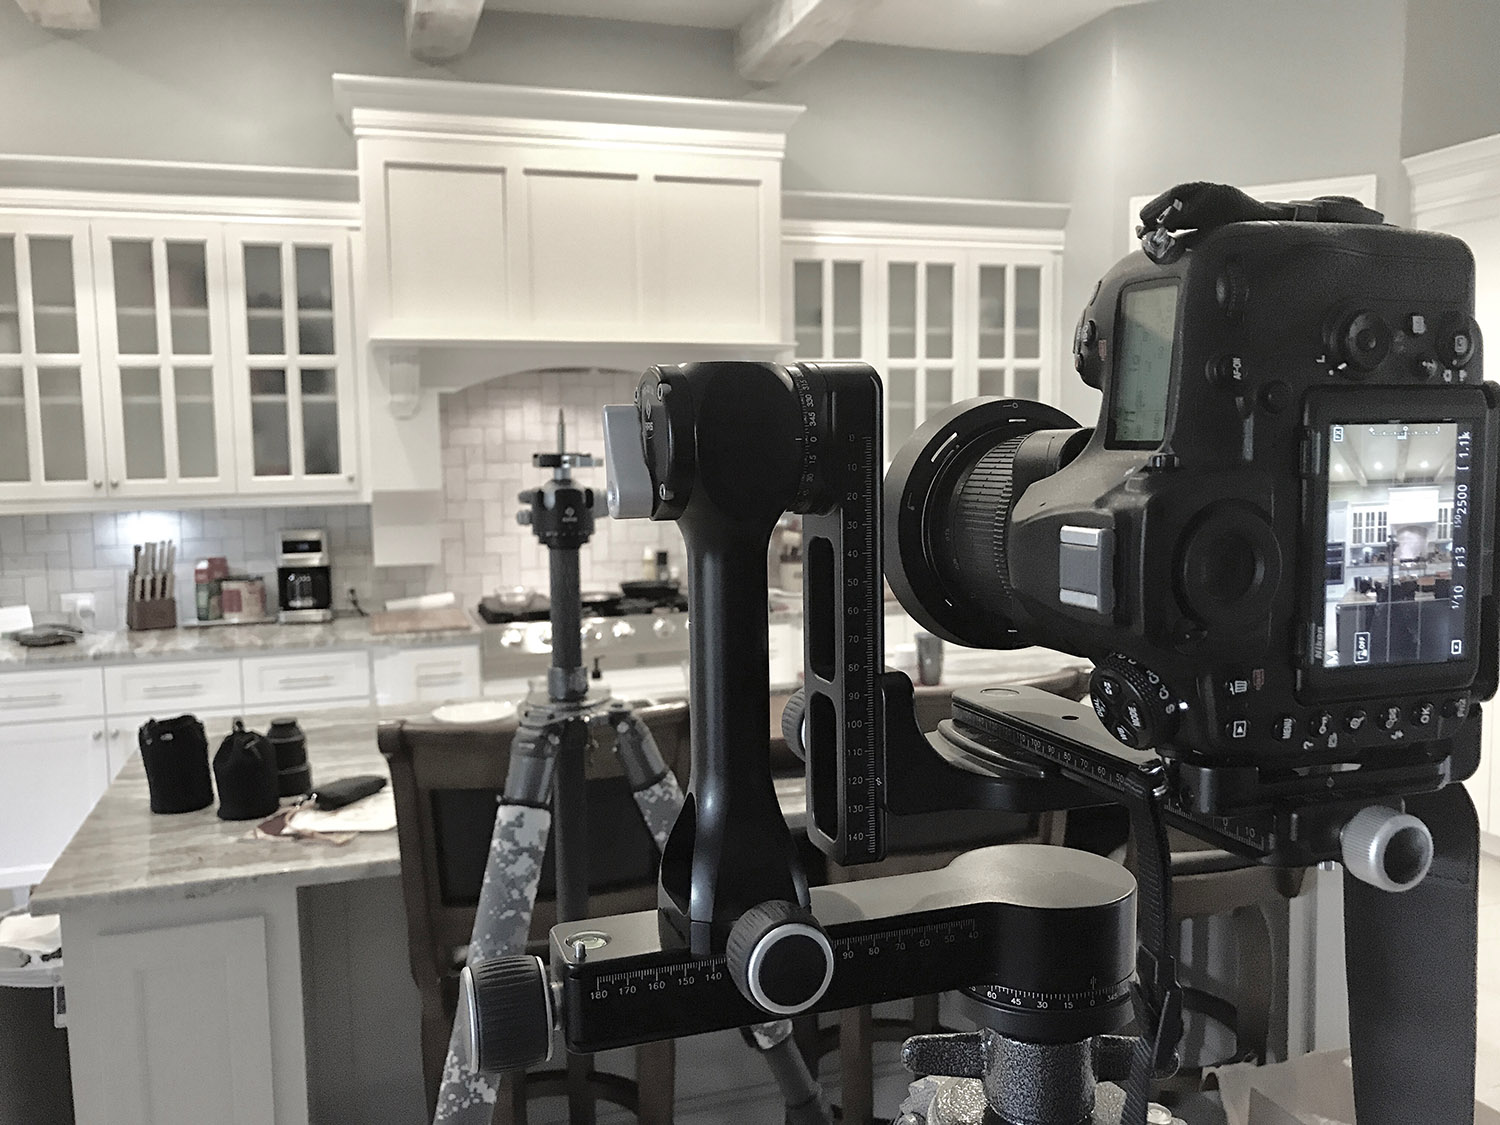
Setting the nodal point for a camera lens is relatively easy once you understand what’s going on. This post describes how to set the nodal point for any lens but the settings at the end are for Nikons. Above is my setup for shooting panoramic images. Here is a great deal on this setup just below.
The pano gimbal alone isn’t enough because you have to be able to slide the lens back and forth in the rail clamp to find the lens nodal point. At the bottom of this post you’ll find a table with nodal point setting for select Nikon and Hasselblad lenses using the RRS gimbal and nodal slider.
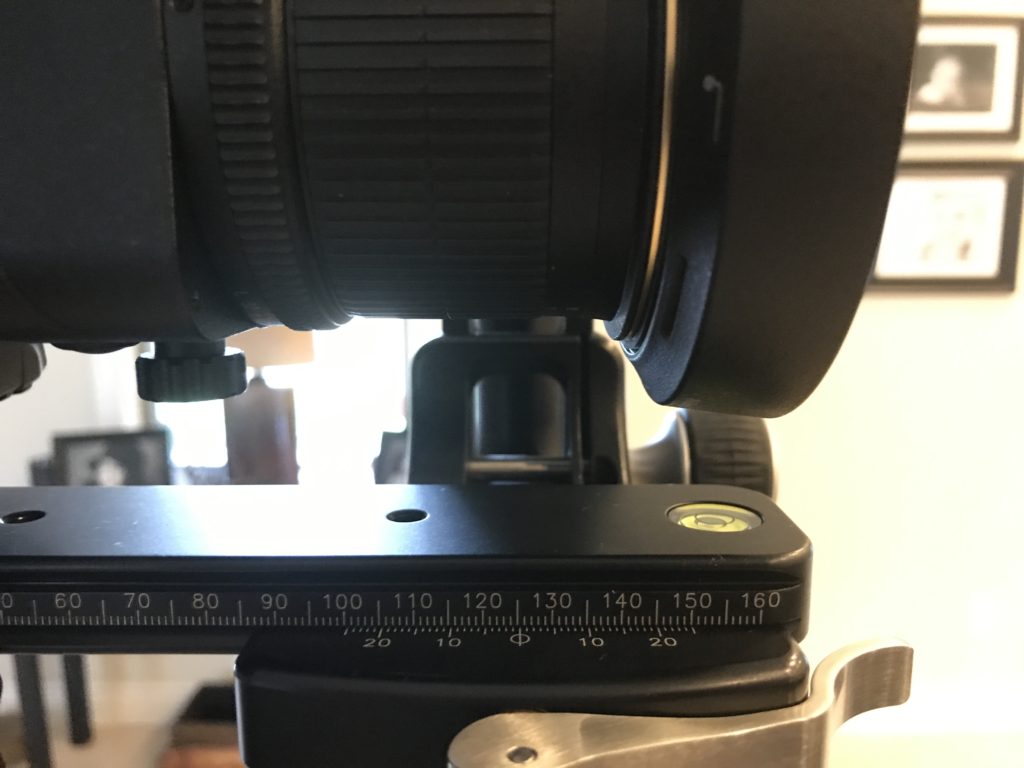
Start off with everything leveled. The RRS gear and most quality tripods come with a built in spirit level so that’s pretty easy but it’s easier if you start out someplace that is already level, like inside your home. Next you want to make sure the nodal rail and camera clamp is centered over the center of the tripod. For the RRS gear that amounted to dropping a plum bob down a center hole in the rail and aligning that with the center of the pano head marking. This gave a setting of 127mm as shown below.

Next attach your camera to the nodal slider and clamp it into the cradle so the whole shebang has the camera mounted securely. Here is where things get interesting. You need to have two reference points one near and one far to set the nodal point. You don’t need something miles away and in fact it might be easier if they are not. There was probably 10-15 ft between my two reference points. I found it easier to align something pointy (near) with a vertical line (far). If your nodal point is correct the alignment of the two points will not shift left or right as you pan the camera on the tripod.
I suggest setting the camera in live view and focus somewhere in between the two objects so you can see how they align the best. Turn your grid on in live view and put the center hash on the center of your near object and use the + button on your camera body to zoom the display in so you can see exactly what you’re doing. Align the near object with the vertical line that is the far object. I used the scallops on the kitchen cabinets. It might take a little fiddling moving the camera and tripod around until you have alignment of all 3 objects. Your camera, the near object and the far object all need to align to start.
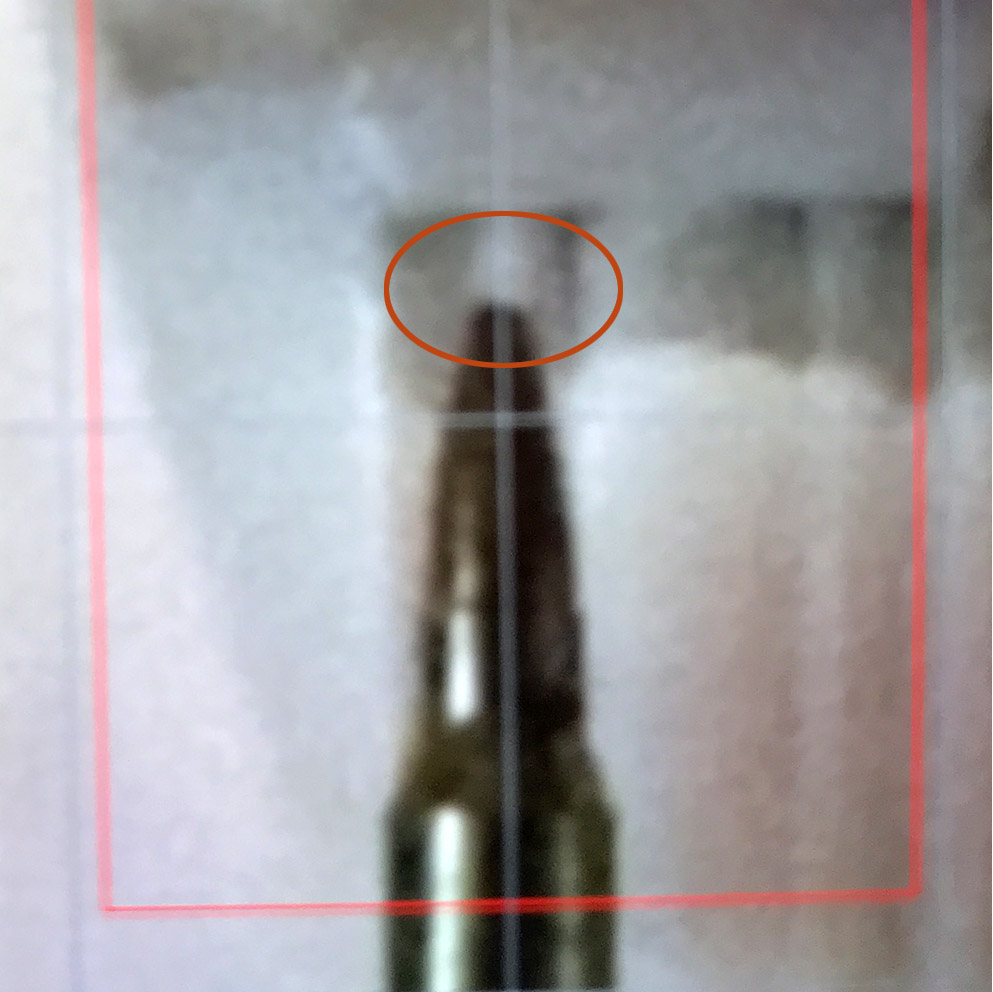
Once everything lines up you’re ready to begin the process of actually finding the nodal point. With the display zoomed all the way out pan the camera until the near object is in the very left or right side of the display. Now zoom in on the near object again using the + sign on the back of your camera to zoom the live view. Next loosen the camera clamp slightly so you can slide the nodal rail back and forth until the near and far object are in the same alignment as when the camera was positioned in the center of the frame and re-clamp the nodal slider so everything is secure again. Be really careful if you’re using quick release clamps that your camera doesn’t go crashing to the ground. The image below shows the alignment I used with the display zoomed in nearly as far as I could zoom. The area circled in red is what’s important. With the camera panned to show the objects in the extreme left or right of the display, move the nodal slider in/out until the objects align exactly as they did when the display was centered. The near object should not appear to shift left or right in relation to the far reference object.
Re-clamp your camera and take note of the measurement. The RRS gear has convenient markings in millimeters to make your adjustments repeatable.
The image below shows an improper nodal point setting as the reference points are no longer aligned with the camera panned far left or right. Move your nodal slider in/out until the two objects align exactly as they did in the first image.

If you’re shooting a zoom lens the next thing you’ll discover is that the nodal point changes as the focal length changes. So I would start out zoomed all the way in or out and get that nodal point first and write it down or use the chart below as a starting point. I wrote down the nodal slider measurements for the marked focal lengths on the lens barrel.

Nikon Lens Nodal Point Measurements Lens Setting Nikon 24mm Tilt Shift f3.5 125mm Nikon 14-24mm f2.8 @14mm 135mm Nikon 14-24mm f2.8 @18mm 130mm Nikon 14-24mm f2.8 @20mm 127mm Nikon 14-24mm f2.8 @24mm 125mm Nikon 24-70mm f2.8 @24mm N/A without removing the slide stop screw Nikon 24-70mm f2.8 @28mm 152mm Nikon 24-70mmf2.8 @35mm 144mm Nikon 24-70mmf2.8 @50mm 133mm Nikon 24-70mmf2.8 @70mm 131mm Nikon 85mm f1.4 55 mm
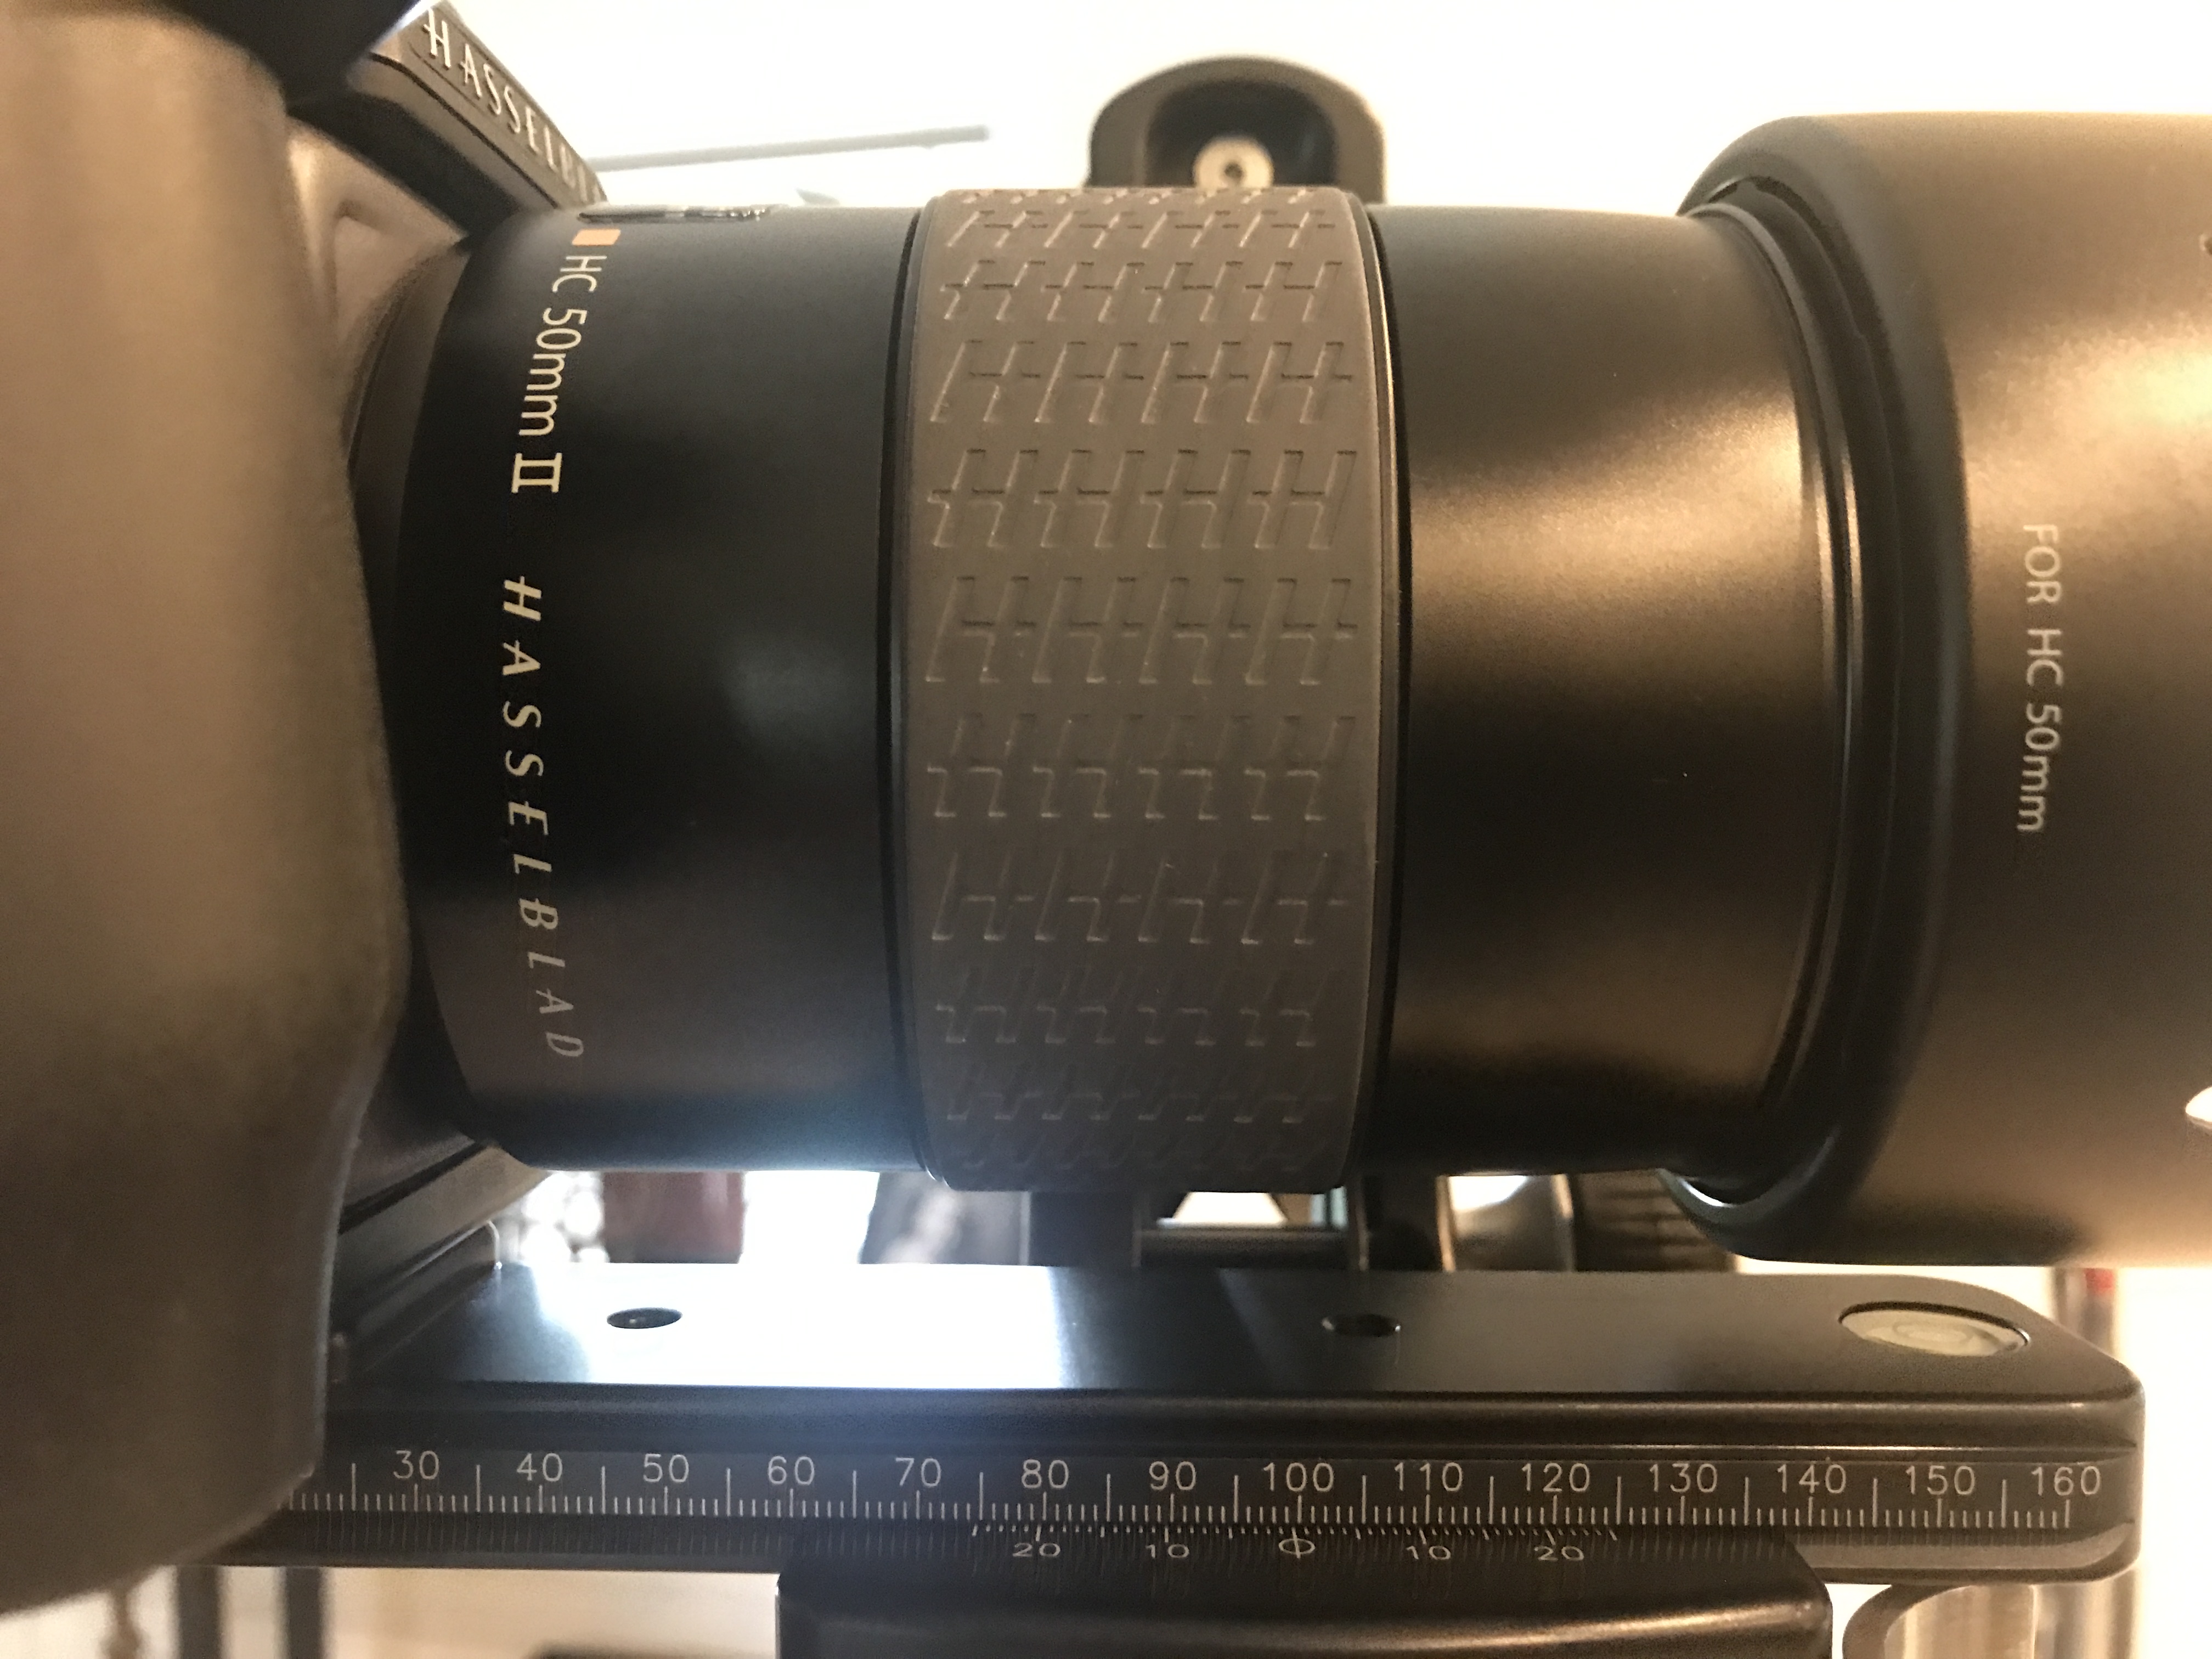
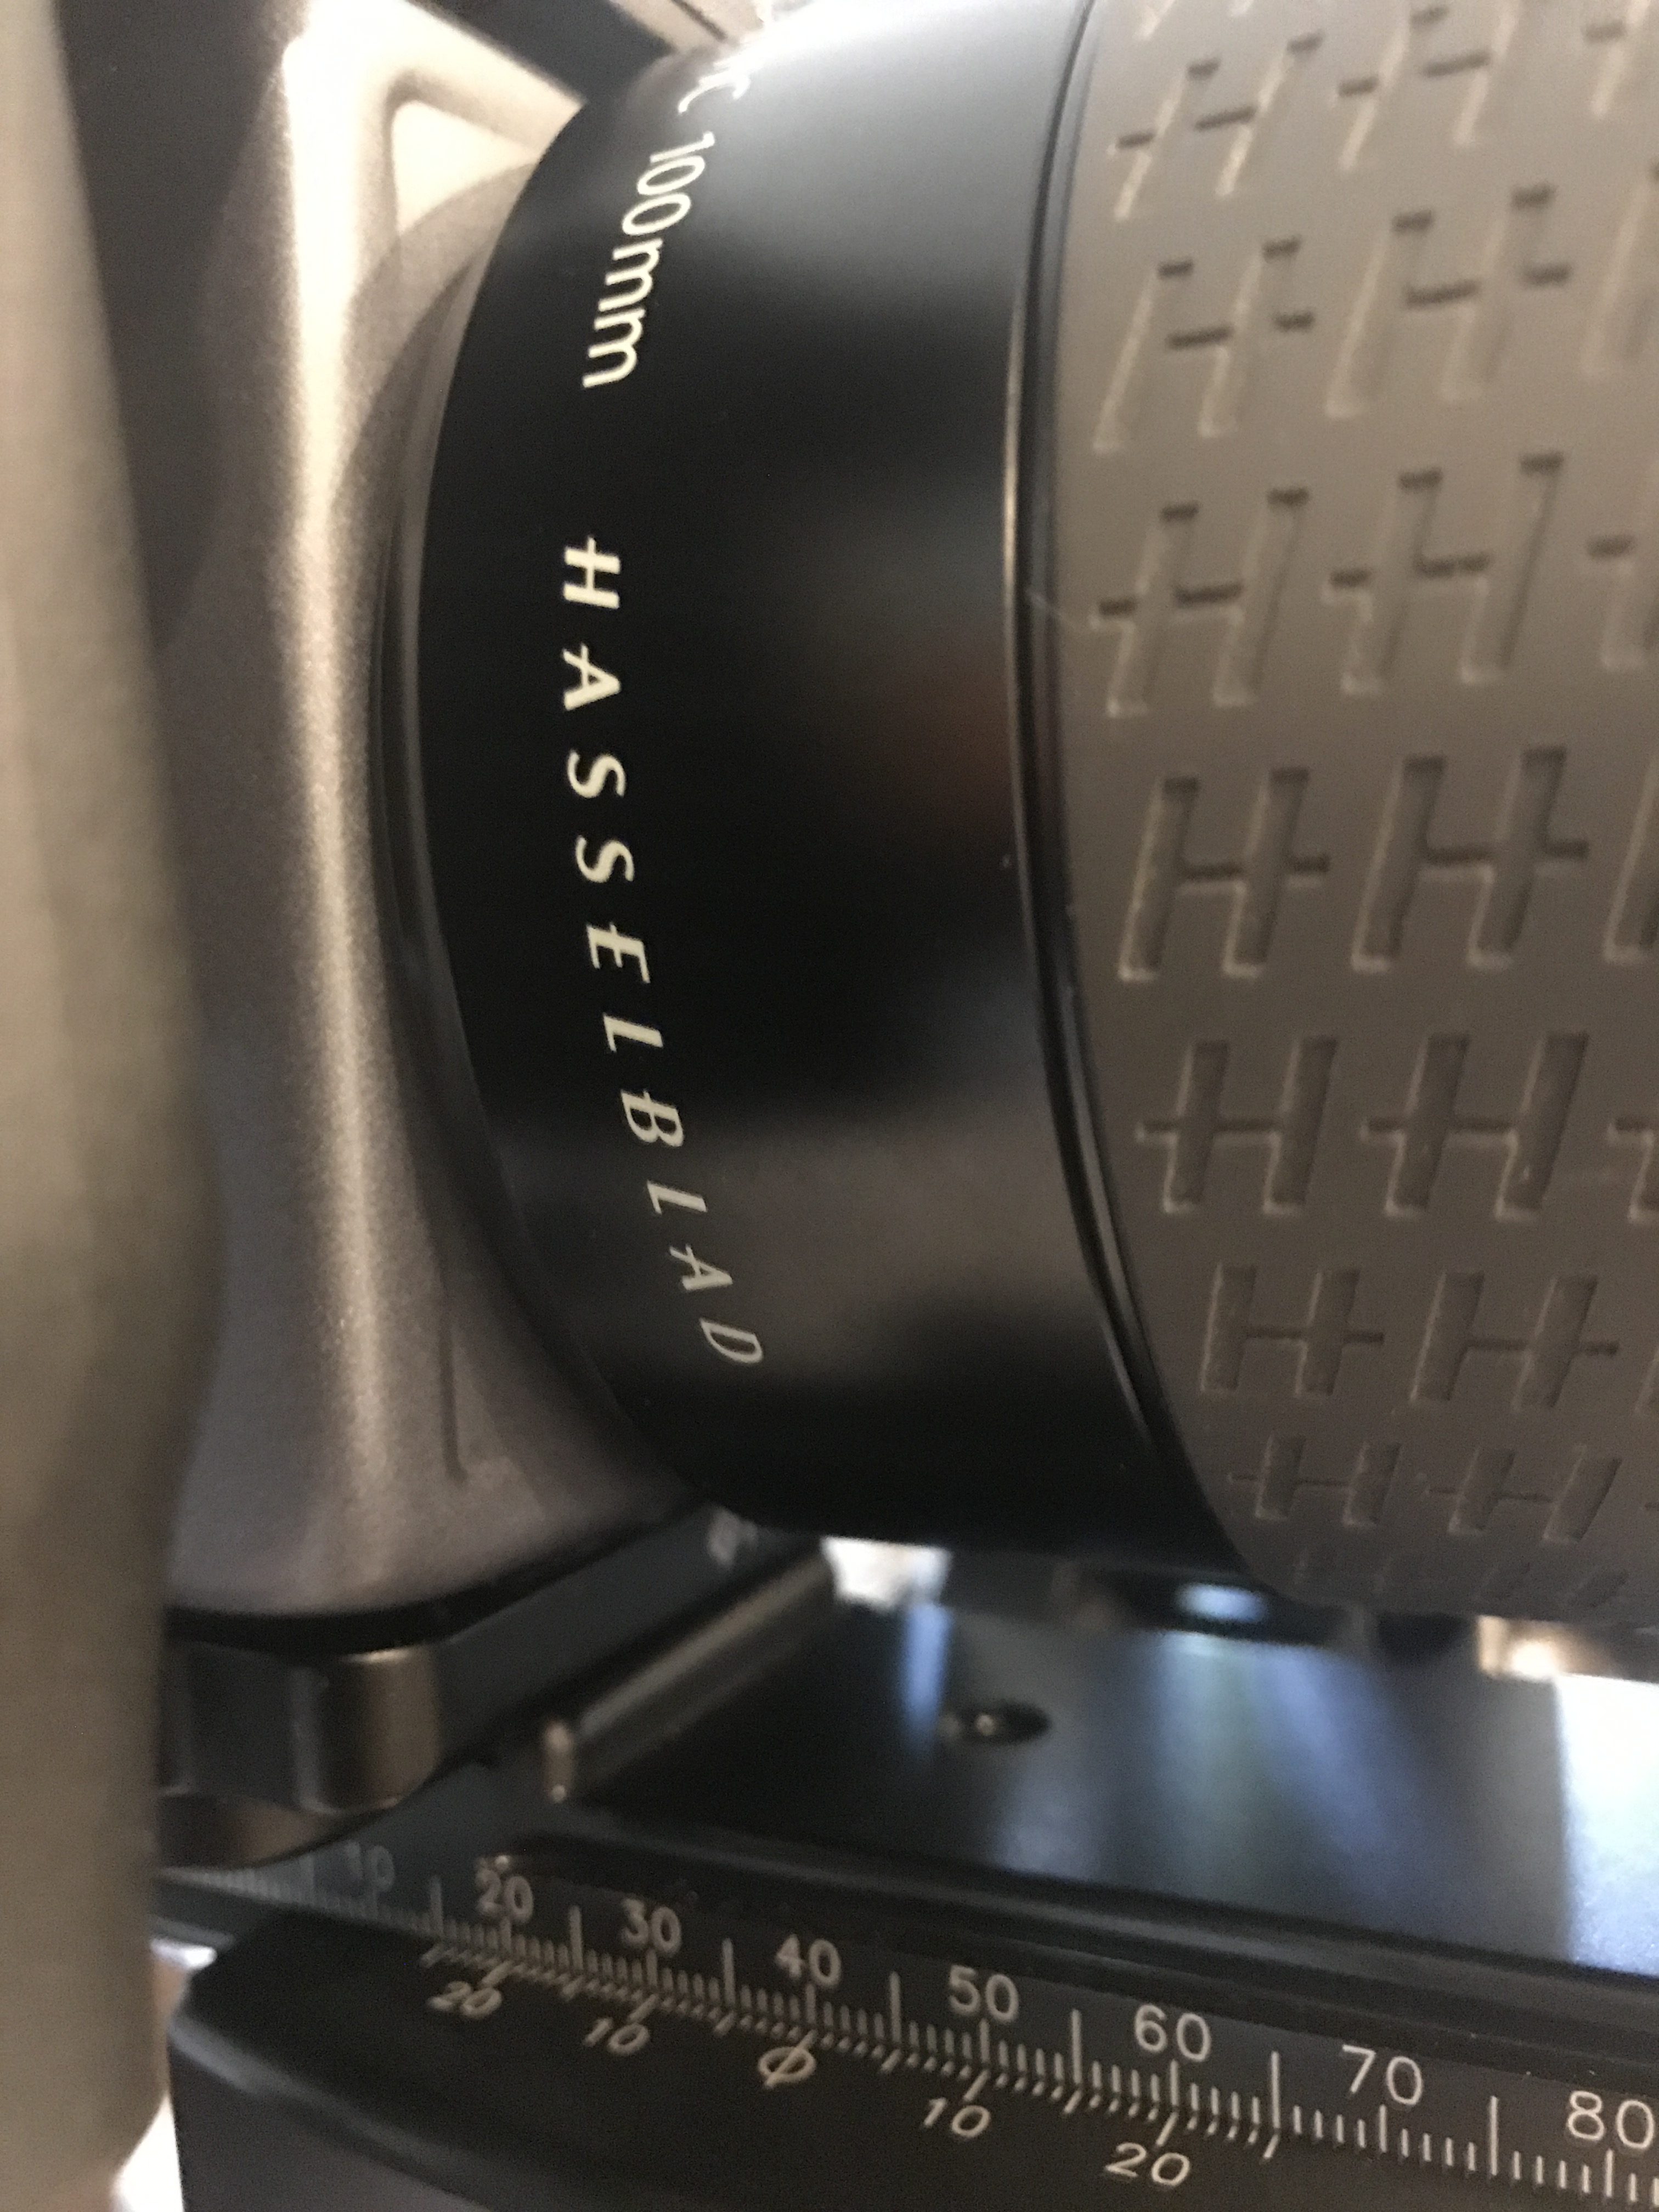
Hasselblad Lens Nodal Point Measurements Lens Setting 100mm HC f3.2 40mm 50mm HC f2.2 99mm
Leave a Reply
You must be logged in to post a comment.